


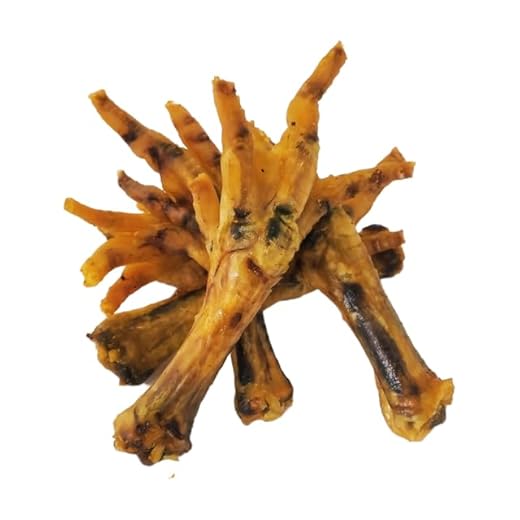
Begin with fresh, high-quality poultry breast. Trim away any excess fat and skin to ensure a pure and healthy snack. Slice the meat into uniform strips; this helps with even cooking and drying, which is crucial for texture.
Preheat your oven to a low setting, ideally around 70°C (160°F). This gentle heat will help remove moisture without cooking the meat too rapidly. Arrange the strips on a baking tray lined with parchment paper, ensuring they are spaced apart to allow air circulation.
Leave the strips in the oven for several hours, typically between 3 to 5 hours, checking periodically. The goal is to achieve a jerky-like consistency, where the meat is firm yet pliable, not brittle. Once completed, let the snacks cool completely before storing them in an airtight container.

These homemade morsels can serve as an excellent reward during training sessions or simply as a tasty indulgence. Knowing exactly what goes into your pet’s treats provides peace of mind and ensures a wholesome option. Enjoy the wagging tails and happy barks that follow!
Selecting the Right Cuts of Poultry for Treats
Opt for boneless breast fillets or thigh meat, as these cuts yield tender slices that are easy to chew. I often use boneless thighs since they’re a bit richer in flavour and moisture, making them ideal for my furry friend. The breast, while leaner, can produce a satisfying crunch when dehydrated.
Trim away any excess fat and connective tissue. This not only helps with preservation but ensures a healthier snack. I remember the first batch I made; I neglected to trim properly, and the leftover fat made the treats greasy instead of crunchy.
Consider organic or free-range options if possible. Quality does matter; I’ve noticed that the treats made from higher-quality meat have a richer taste and my pup seems to enjoy them much more. Plus, avoiding chemicals and additives is always a plus.
Keep in mind the size of the pieces. Slicing into uniform strips, about half a centimetre thick, ensures even drying. I once made the mistake of cutting some pieces too thick, which resulted in uneven texture and drying time.
Finally, always check for any possible contaminants or off smells before preparing. Freshness is key. I recall a time when I didn’t pay close enough attention and ended up with a batch that my dog refused to touch. Lesson learned!
Preparing Chicken for the Drying Process
First, ensure the poultry is fresh and of high quality. Remove skin and excess fat, as they can lead to spoilage. Cutting the meat into uniform strips, about 1/4 to 1/2 inch thick, promotes even drying. For optimal texture, consider using a sharp knife or kitchen shears.
Next, marinating can enhance flavour. A simple blend of low-sodium broth and herbs like parsley or basil works well. Let the strips soak for 30 minutes to an hour, ensuring they absorb the flavours. After marinating, pat the meat dry with paper towels to remove excess moisture.
To further ensure safety, preheat your oven or dehydrator to the appropriate temperature. For ovens, a low setting around 70-80°C (160-175°F) is ideal. If using a dehydrator, follow the manufacturer’s instructions for poultry.
- Keep workspace clean to avoid cross-contamination.
- Store any unused meat in the refrigerator until ready to use.
- Consider using a food thermometer to check the internal temperature if you choose to pre-cook.
Finally, lay the strips on a baking sheet or dehydrator trays, ensuring they are spaced apart for proper airflow. Regularly check for dryness, which can take several hours. Once fully dried, let the snacks cool before storing them in an airtight container.
Choosing the Best Drying Method: Oven vs Dehydrator
Opt for a dehydrator if you want consistent results with minimal effort. This appliance maintains a steady temperature and airflow, ensuring even moisture removal. I’ve found that using a dehydrator keeps the texture just right and preserves the nutrients better than baking does.
Using an oven can be a practical alternative, especially if you don’t have a dehydrator. Set it to a low temperature, ideally around 70°C (160°F), and keep the door slightly ajar to allow moisture to escape. This method may require more attention, as you’ll need to check periodically to avoid overcooking.
Temperature is key in both methods. With a dehydrator, the adjustable settings give you precise control. In contrast, ovens can have hot spots, so rotating trays can help achieve uniform drying.
Always ensure whatever method you choose, cleanliness is paramount. Wash all utensils and surfaces to prevent contamination. If you’re preparing more than a small batch, consider your storage options. Well-dried pieces should be stored in an airtight container, and if you’re looking for a way to help with skin issues, pairing these goodies with the best inexpensive dog food for skin allergies can make a difference.
Experiment with both methods to discover what suits your routine and your furry friend’s preferences best. Each has its benefits, and you might find that a combination works perfectly!
Storing Dried Treats Properly
To prolong the shelf life and maintain the quality of your homemade goodies, store them in airtight containers. Glass jars or vacuum-sealed bags work exceptionally well. Avoid plastic bags unless they are specifically designed for long-term storage, as they can allow moisture to enter.
Keep these containers in a cool, dark place, such as a pantry or cupboard. Exposure to light and heat can cause them to spoil faster. If you’re in a humid area, consider refrigeration to further extend their freshness. Just remember to bring them back to room temperature before giving some to your furry friend.
Freezing for Longevity
If you’ve prepared a large batch, freezing is an excellent option. Portion out the snacks into smaller amounts, then wrap them tightly in foil or place them in freezer-safe bags. This method not only keeps them fresh but also makes it easy to defrost just what you need without wasting any of these delicious bites.
Checking for Freshness
Before offering your pet a snack, always inspect it for any signs of spoilage. If you notice any unusual smells, colours, or textures, it’s best to discard them. Regularly checking your supply can help ensure your companion enjoys only the best, safe bites!
Monitoring Your Dog’s Reaction to Homemade Treats
Observe your furry friend closely right after they sample the goodies. Look for signs of enjoyment, such as wagging tails, excited barks, or even that adorable little dance they do when they love something. If they quickly gobble them up, it’s a good indication they’re a fan.
Watch for Digestive Changes
Be vigilant for any signs of gastrointestinal upset, like excessive gas, vomiting, or changes in stool consistency. A sudden shift in diet can cause an upset tummy, especially if your pet isn’t used to homemade goodies. Introduce these snacks gradually to avoid any discomfort.
Evaluate Their Energy Levels and Behaviour
After indulging in the homemade snacks, monitor your companion’s energy levels. A boost in energy or playful behaviour can suggest that they’ve enjoyed them. On the flip side, if your pup seems lethargic or disinterested, it’s worth reconsidering the recipe. Each dog is unique, and what works for one may not suit another.
Keep a journal of your observations. Document any preferences or adverse reactions; this can be invaluable for future baking sessions. You’ll be able to refine your recipes based on your buddy’s responses, ensuring they always have a tail-wagging experience!


