


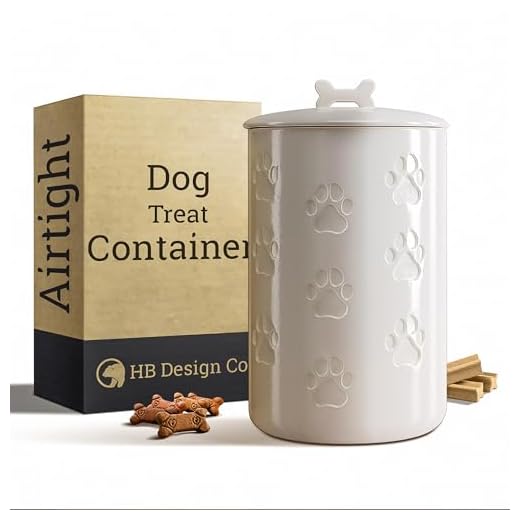

Storing those delicious nibbles in an airtight container is a game-changer. I’ve found that using glass jars or vacuum-sealed bags makes a significant difference in retaining freshness. It’s amazing how much longer they stay appetising when protected from air and moisture.
Next, consider placing the goodies in a cool, dark spot. Heat and sunlight can cause them to spoil quickly. I always keep mine in a cupboard, away from the kitchen stove and direct light. This simple step has extended their shelf life considerably.
Another tip I’ve picked up is adding a natural preservative. A small amount of vitamin E oil can help prolong the edibility of these snacks without compromising flavour. Just a few drops mixed in during preparation can work wonders!

Freezing is also a fantastic option. Portioning out the snacks and storing them in the freezer ensures I always have a stash of fresh goodies ready to go. Simply thaw them at room temperature before serving, and they taste just as delightful as the day they were made.
Lastly, regularly checking for signs of spoilage is essential. Even with all precautions, keeping an eye on texture and smell can prevent offering stale morsels. Trust me, your furry friend will appreciate the effort!
Choosing the Right Ingredients for Longevity
Opt for natural preservatives like vitamin E or rosemary extract. These elements not only enhance shelf life but also provide health benefits. I often add a few drops of vitamin E oil to my batches; it keeps everything fresh much longer.
Quality Over Quantity
Using high-quality ingredients is paramount. Fresh fruits and vegetables have a higher moisture content, which can lead to quicker spoilage. I favour dehydrated options like pumpkin or sweet potato. They add flavour and nutrition without the excess water that can promote mould growth.
Grain Selection
When picking grains, consider oats or brown rice. They are less likely to spoil compared to other grains. I’ve noticed that treats made with these options maintain their texture and taste over time. Avoid using refined flours; they can attract pests and spoil faster.
Mixing in ingredients such as peanut butter can enhance taste, but make sure to choose varieties without added sugars or preservatives. Natural options provide a richer flavour and contribute to a longer shelf life.
Lastly, always store your creations in an airtight container in a cool, dry place. This simple step can significantly extend their usability, ensuring your furry friend enjoys every bite!
Proper storage techniques for homemade snacks
Use airtight containers to maintain freshness. Glass jars or plastic containers with secure lids work best. Store these in a cool, dry place away from direct sunlight. This prevents moisture and heat from spoiling the goodies.
If you prepare a large batch, consider freezing portions. Use freezer-safe bags or containers, ensuring to remove as much air as possible to prevent freezer burn. Label each package with the date, so you know how long they’ve been stored.
For items containing perishable ingredients like meat or dairy, refrigeration is necessary. Place them in the fridge and consume within a week to ensure safety. If you’re unsure about an ingredient’s longevity, refer to guidelines for storage times.
Regularly check the treats for signs of spoilage. Discard any that appear discoloured or have an unusual odour. Keeping track of how long they’ve been stored helps maintain quality.
Lastly, if your furry companion has specific dietary needs, such as skin issues, pairing these snacks with the best dog food for yeasty skin can enhance their overall health and well-being.
Using Preservatives Safely in Canine Snacks
Opt for natural preservatives such as vitamin E (tocopherol) or rosemary extract. These not only extend shelf life but also provide health benefits. For example, vitamin E is an antioxidant that supports skin and coat health. While using these alternatives, limit the amount to avoid unintended side effects; a small quantity goes a long way.
Understanding Commercial Options
If opting for commercial preservatives, look for those approved by relevant health authorities. Ingredients like potassium sorbate or calcium propionate can be effective, but always check for any potential allergens or additives that may not suit your pet’s dietary needs. Reading labels is crucial; if you can’t pronounce an ingredient, it’s best to steer clear.
Testing and Observing
When introducing any preservative, start with a small batch. Observe how your furry friend reacts over a week. Look for any signs of digestive upset or allergies. Keeping a journal of their reactions can help track any changes. This method ensures that the treats remain safe and enjoyable for your companion.
Signs Your Canine Snacks Have Spoiled
Pay close attention to visual cues. If the colour of your snacks has faded or darkened, it’s a sign that they may no longer be safe. Freshness often shows through vibrant colours, so any significant change indicates potential spoilage.
Texture is another indicator. If your goodies have become excessively hard, brittle, or unusually soft, it’s time to toss them. A change in texture often reflects the breakdown of ingredients, leading to a less palatable option for your furry friend.
Odour should not be overlooked. A rancid, sour, or off smell is a clear warning that they have gone bad. Trust your nose; if something smells wrong, it likely is. Freshly made snacks should have a pleasant aroma, not an unpleasant one.
Keep an eye out for mould. Any visible signs of fungi or discolouration on the surface means disposal is necessary. Mould can develop quickly in moist conditions, and it’s not safe for your pet.
| Indicator | What to Look For |
|---|---|
| Colour Change | Faded or darkened hues |
| Texture Alteration | Excessively hard, brittle, or soft |
| Odour | Rancid or sour smell |
| Mould | Visible signs of fungi or discolouration |
Finally, if your pooch turns their nose up at a snack they usually love, it’s a good idea to inspect it closely. Changes in taste perception can be linked to spoilage, so trust your pet’s instincts.
Ways to freeze canine goodies for extended freshness
Freezing is a fantastic method to preserve those delightful snacks. Here’s how I keep them fresh for months:
- Cool Down: Ensure the goodies are completely cooled before freezing. Warm items can create condensation, leading to freezer burn.
- Portion Control: Divide the batches into smaller portions. This way, you only thaw what you need, keeping the rest in optimal condition.
- Use Airtight Containers: Invest in quality, airtight containers or freezer bags. Squeeze out excess air from bags before sealing to prevent frostbite.
- Label and Date: Always label each container with the contents and the date of freezing. This helps keep track of freshness and usage.
- Flat Freezing: For items like biscuits, lay them out on a baking sheet in a single layer to freeze. Once solid, transfer them to a bag. This prevents them from sticking together.
Defrosting is just as crucial. For best results, place a portion in the fridge overnight. This gradual thawing helps maintain texture and flavour. Avoid microwaving, as it can alter the treat’s consistency.
Freezing extends the shelf life significantly, ensuring your furry friend enjoys tasty snacks while you save time and effort in the kitchen!


