

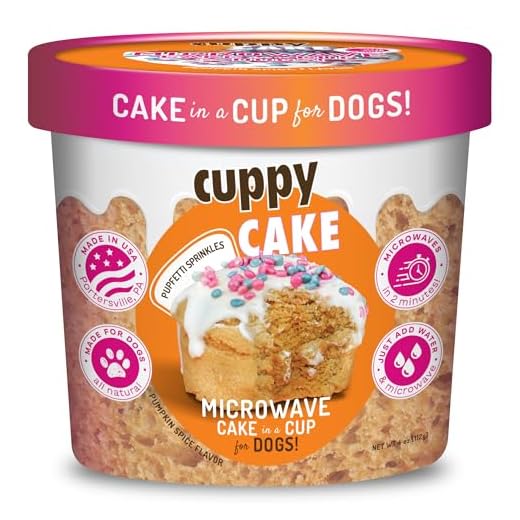


For an impressive canine-themed treat, begin with a solid foundation of your preferred sponge. Choose a recipe that yields a moist and fluffy base; vanilla or chocolate works wonderfully. Once baked, allow the layers to cool completely. This step is crucial to ensure the frosting doesn’t melt upon application.
Next, carve the cooled sponge into the desired silhouette. A round shape can serve as the head, while a more oval or rectangular piece can represent the body. Use a serrated knife for precise cuts; this ensures a neat finish. Don’t worry about imperfections; they can be easily masked with frosting.
Speaking of frosting, opt for a buttercream or cream cheese variation. These choices are not only delicious but also easy to work with. Tinted to resemble fur, you can use shades of brown, black, or even golden tones. Apply a generous layer to both the body and head, smoothing it out for a polished look.

To bring your creation to life, consider using edible decorations. Chocolate chips make great eyes, while fondant can be shaped into ears and a nose. If you’re feeling adventurous, you can even use fruit pieces for added texture and colour. Lively embellishments will enhance the overall appearance and make it more appealing to those who adore our four-legged friends.
Finally, don’t forget to personalise it further with a special message or a paw print design. This touch not only adds charm but shows your thoughtfulness in crafting a delightful tribute to a beloved pet. Share your masterpiece with friends and family for a memorable celebration.
Choosing the right recipe for a canine creation
Opt for a vanilla or chocolate base; these flavours are widely loved and lend themselves well to decoration. Keep the texture moist and fluffy, as this provides a delightful bite. Incorporate ingredients such as buttermilk or sour cream to enhance tenderness.
For a healthier touch, consider using whole wheat flour instead of all-purpose, which can add a nutty flavour and improve nutrition. If you want to capture your pet’s attention, add peanut butter or banana to the mixture. These ingredients not only appeal to dogs but also add moisture.
Ensure to avoid harmful components like chocolate, grapes, or xylitol. Instead, opt for safe alternatives such as carob or pumpkin puree to maintain a pet-friendly approach. A simple frosting made with cream cheese and a bit of honey can give a nice finish without being overly sweet.
Shape your concoction using a round or oval pan for the head, and small round cakes for ears. Layering gives depth and character, so don’t shy away from stacking for a more dynamic look. Remember, the decoration can transform a simple recipe into a delightful masterpiece.
Shaping and Sculpting the Treat to Resemble a Canine
Begin with a rectangular piece of your confection, around 10 inches long and 6 inches wide. This will serve as the main body. Trim the corners slightly to create a more rounded appearance, mimicking the shape of a dog’s torso. For the head, take a smaller piece, about 6 inches long and 4 inches wide. Carve out a rounded shape, ensuring it aligns proportionately with the body.
Creating Features
Once the primary forms are ready, focus on adding characteristics. For the ears, cut two triangular or floppy shapes from another portion of your treat and attach them to the head. Use a bit of frosting to secure them in place. The snout can be fashioned from a small ball of icing or fondant, placed at the front of the head. A small piece of chocolate or a round candy can serve as the nose, adding a fun touch.
Detailing the Design
For the eyes, use small candies or chocolate chips, pressing them gently into the head. To create a tail, trim a piece from the leftover batter, shaping it into a long, thin form and attaching it at the rear of the body with icing. Texture can be added using a fork or a knife to create fur-like patterns all over the surface, enhancing the overall look. Finish with a layer of coloured icing to bring your furry friend to life, perhaps choosing shades that match your actual pet!
Pay attention to proportions throughout the process. The more closely the features resemble the breed you’re aiming for, the more lifelike your creation will appear. Have fun with it–this is where creativity shines!
Decorating techniques for a realistic canine confection
To achieve a lifelike appearance for your furry-themed dessert, focus on detail and texture. Start with fondant; this versatile sugar paste allows for smooth surfaces and intricate designs. Colour it to match your pet’s fur, using gel food colours for vibrant shades.
Fur texture
For realistic fur, consider these options:
- Use a petal nozzle for piping buttercream. This creates soft peaks resembling fur.
- Employ a textured rolling pin on fondant to mimic the natural look of a coat.
- For a more detailed effect, use a paintbrush to create fine lines on the fondant, adding depth.
Facial features
Eyes and nose are crucial for character:
- Chocolate or fondant can be shaped into eyes and a snout. Use edible glue to attach them securely.
- For a shiny effect on the eyes, a dab of edible glaze adds realism.
- Using small balls of fondant, create the mouth and ears, ensuring they are proportionate to the head.
Don’t forget to add a collar or bone as decorative accents. These can be crafted from colourful fondant or simple chocolate shapes. For a finishing touch, sprinkle edible glitter or pet-safe decorations around the base. As a final tip, pairing this delightful treat with the best dog food for indoor dogs ensures your furry friend also gets a special moment during the celebration.
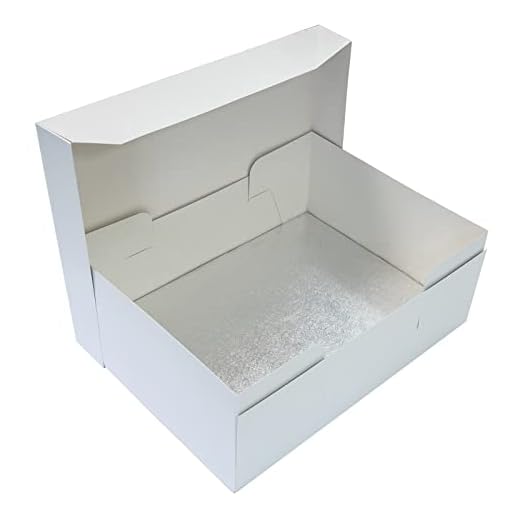
Tips for Transporting and Presenting the Canine Confection
Use a sturdy cake box with a secure lid for transport. This keeps the creation safe from bumps and potential mishaps during the journey.
Place a non-slip mat or a dish towel under the box to prevent sliding while driving. This simple trick can save you from a messy situation.
For added stability, consider using a cake board that’s slightly larger than the dessert itself. This provides a solid base and makes handling easier.
When arriving at the venue, choose a flat surface for showcasing your masterpiece. A table or a countertop works best to ensure it doesn’t wobble or shift.
Bring along a small toolkit for last-minute touch-ups. A spatula, extra frosting, and a few decorations can help fix any minor issues that may occur during transport.
As for presentation, place the creation on a decorative stand or a cake pedestal. This elevates it, making it a focal point of the celebration.
Consider adding themed decorations around the base, such as small toys or edible accents that complement the overall design. This creates a festive atmosphere and enhances the visual appeal.
Before serving, let guests admire the creation for a moment. Engaging everyone in a little story about how it was crafted adds a personal touch and builds excitement.


