

Begin by familiarising your furry companion with the harness before attempting to secure it. Allow them to sniff and explore the device, creating a sense of curiosity rather than apprehension. This simple step can make a significant difference in their comfort level.
Next, gently drape the harness over your pet’s snout. Ensure the loop rests comfortably around their muzzle, avoiding any tightness that might cause discomfort. Adjust the straps so they are snug but not restrictive, allowing your pup to breathe and pant freely.
Once the muzzle section is in place, fasten the neck strap while keeping a close eye on your pet’s body language. If they seem uneasy, take a moment to reassure them with gentle words or treats. Positive reinforcement helps build a connection between the harness and pleasant experiences.
After securing the harness, take a few moments to allow your canine to acclimatise. Let them walk around the room or yard, observing their reaction. If they exhibit signs of stress, it might be worth re-evaluating the fit or allowing more time for them to adjust.
Finally, combine the harness with a lead for walks. Start with short outings, gradually increasing the duration as they become more accustomed to the new setup. With patience and persistence, you’ll both enjoy more enjoyable strolls together.
Choosing the Right Size Halti for Your Canine Companion
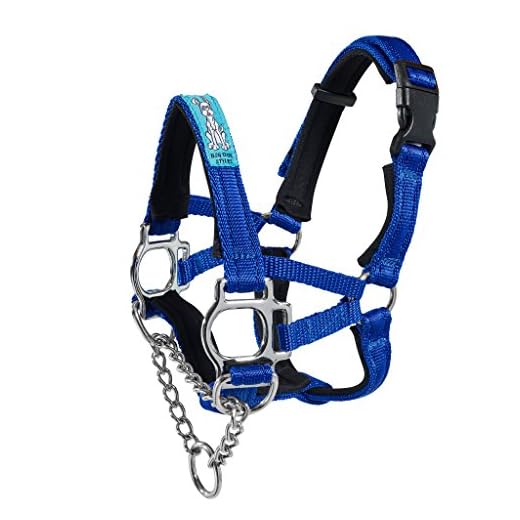
Measure your furry friend’s snout just below the eyes to find the perfect fit. A snug yet comfortable fit is key; you should be able to slide a finger beneath the band without it being too loose. This ensures that your pet feels secure but not restricted.
Size Guide Basics
Most brands provide a size chart based on the circumference of the muzzle. Typically, sizes range from small to large, depending on the breed. For example, a small might suit a Chihuahua, while a large could be better for a Labrador. It’s wise to consult these charts before making a decision.
Adjustability Matters
Look for an adjustable model. An adjustable design allows you to fine-tune the fit. This is particularly helpful as your four-legged friend’s size may change over time, especially if they are still growing. A well-fitted accessory not only enhances comfort but also improves control during walks.
Preparing Your Canine for the Headgear
Introduce the gear gradually. Begin by letting your furry friend sniff and examine it. This helps reduce anxiety and promotes familiarity.
Step-by-Step Introduction
- Allow your pet to explore the gear without any pressure. Place it on the ground and let them investigate.
- Reward with treats or praise when they show interest. Positive reinforcement is key.
- Once comfortable, gently drape the gear over their snout for a few seconds while giving treats.
- Repeat this process, gradually increasing the time they wear it. Keep sessions short to maintain their interest.
Associating Positive Experiences
- Use favourite toys or snacks during the introduction. This creates a positive connection with the gear.
- Practice in a calm environment. Avoid distractions to help your pet focus.
- Keep the experience light and fun. If your companion seems stressed, take a break and try again later.
Once your furry companion is comfortable, you can proceed to fitting and adjusting the gear. Patience is key throughout this process. Building a positive association will make the transition smoother.
Step-by-step guide to fitting the halti correctly
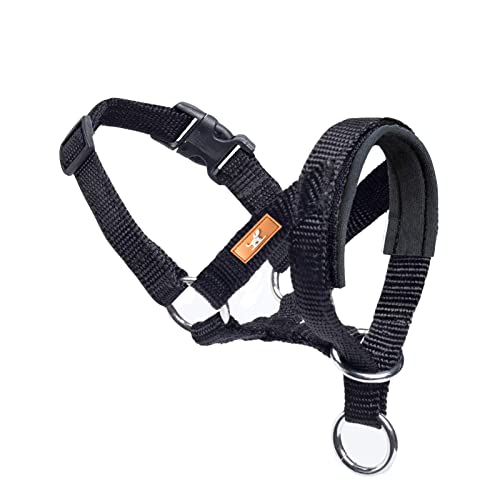
Begin by holding the device in one hand, ensuring the loop and the straps are oriented correctly. The loop should fit over the snout, with the straps positioned to sit behind the ears.
Next, gently approach your canine companion to avoid startling them. With your other hand, gently grasp their muzzle and guide it into the loop. This should be done calmly, offering reassurance to maintain a relaxed atmosphere.
Once the snout is in place, pull the strap behind the ears and fasten it securely but not too tightly. You should be able to fit two fingers between the strap and their skin. This ensures comfort while preventing any escape.
For proper adjustment, check the fit by lifting the snout gently. The device should not shift or slide off. If it does, readjust the straps and ensure a snug fit.
To further ensure the fit is correct, observe their behaviour. If they seem agitated or uncomfortable, loosen the strap slightly. Gradually help them acclimatise to wearing this new equipment by allowing short periods of wear inside the house before venturing outside.
| Step | Action |
|---|---|
| 1 | Hold the device correctly |
| 2 | Gently guide the snout into the loop |
| 3 | Fasten the strap behind the ears |
| 4 | Check for proper fit |
| 5 | Observe behaviour for comfort |
Following these steps will help you achieve a secure and comfortable fit, allowing for enjoyable walks together. Regularly check the adjustment as your furry friend may grow or change shape over time.
Adjusting for Comfort and Security
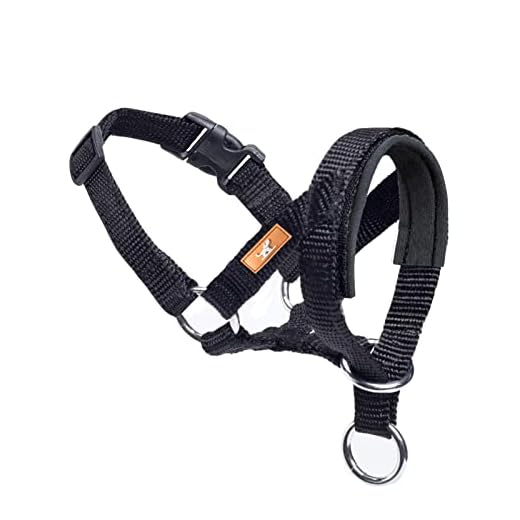
For a snug fit, ensure the device sits comfortably around your canine’s muzzle without causing any discomfort. The loop should rest just below the eyes, allowing enough space to avoid pressure on the nose. You should be able to fit two fingers between the device and the muzzle, which indicates that it’s not too tight. If you notice any signs of irritation or discomfort, readjust immediately.
Securing the Fit
After achieving the right position, fasten the straps gently but securely. Check that the straps do not restrict movement while still preventing any unwanted pulling. A well-fitted harness will allow your furry friend to open their mouth for panting or drinking but will still provide control during walks. If your pet seems anxious, consider using treats to create a positive association with the adjustment process.
Regular Checks
It’s wise to inspect the fit regularly, especially as your pet grows or if their weight fluctuates. If they are on a specific diet, such as for health reasons, you might want to consult about the best food for diabetic dogs to gain weight, as this can affect how the gear fits over time. Regularly adjusting ensures safety and enhances their comfort during outdoor activities.
Training Your Canine to Accept the Headgear
Begin with short sessions. Allow your furry friend to explore the equipment without pressure. Let them sniff and investigate while you offer treats. This builds a positive association.
Once they seem comfortable, gently place the gear near their face during playtime. Reward with praise or a favourite snack. Repeat this process over several days until they show eagerness to engage with the gear.
Gradual Introduction
Next, try to secure it briefly. Attach it without fastening, allowing your pet to wear it for a few moments. Keep sessions light and fun. Gradually increase the duration, rewarding them each time.
After they are accustomed to wearing it, adjust the clips fully. Allow them to wear it during walks, but keep the initial outings short. Ensure to praise and reward at every step, reinforcing positive behaviour.
Creating Positive Experiences
Incorporate fun activities while they wear the equipment. Take them to their favourite park or engage in play with other animals. This transforms the experience into something enjoyable, reinforcing acceptance.
Be patient. Some may take longer to adapt, while others might accept it almost immediately. Monitor reactions and adjust your approach accordingly.


