


Begin with a thorough removal of any solid remnants using a plastic bag or a disposable glove. Gently scrape away the bulk, taking care not to push it deeper into the fibres. This first step is vital to prevent more extensive staining.
Next, prepare a solution of warm water and mild detergent. Using a clean cloth, dab the affected area, working from the outside in to avoid spreading the stain. This gentle blotting technique helps lift the residue without damaging the fabric. Rinse the cloth frequently to ensure you’re not just redistributing the mess.
If the stain persists, consider a mixture of white vinegar and water. Apply this solution with a spray bottle or a cloth, allowing it to sit for a few minutes. The acidity of vinegar works wonders on stubborn marks. After treating, use another damp cloth to blot the area until all traces of the mixture are gone.
For tougher situations, consider a commercial stain remover designed for fabrics. Always perform a patch test in an inconspicuous spot to check for any adverse reactions. Follow the product instructions carefully to achieve the best results without damaging your beloved textile.
Finally, allow the item to air dry completely, as heat can set any remaining stains. Check once dry to ensure the stain is entirely gone; if not, repeat the process as necessary. Keeping your favourite fabrics fresh and clean ensures they remain a cherished part of your home.
Removing Stains from Fabrics
Immediately tackle the mess with gloves on to avoid contact. Carefully scoop the bulk away using a paper towel or plastic bag. Avoid rubbing to prevent spreading.
Next, prepare a mixture of warm water and mild detergent. Dampen a cloth with this solution and gently blot the affected area. Work from the outside in to prevent the stain from expanding. Use a clean section of the cloth as needed.
If the stain persists, consider using white vinegar mixed with water in equal parts. Apply it similarly, allowing it to sit for a few minutes before blotting again.
Rinse the area with cool water afterwards to remove any remaining cleaning agents. Blot dry with a clean towel.
For lingering odours, sprinkle baking soda over the spot once dry. Let it sit for several hours before vacuuming it up.
Lastly, check care labels before washing the entire fabric in a machine. Follow the recommended settings for temperature and cycle type.
Assessing the Damage: Initial Steps Before Cleaning
First, check the extent of the soiling. If the fabric is deeply stained or the mess has seeped into the fibres, it may require a more thorough approach. Carefully inspect for any solid remnants that can be removed without grinding them further into the material.
Next, consider the type of fabric. Delicate textiles might need special care, while sturdier materials can handle more vigorous treatment. Look at the care label for guidance before proceeding with any cleaning method.
Gather necessary supplies: gloves, paper towels, a bucket of cold water, and a suitable detergent. Having everything ready makes the process smoother. If you’re unsure about a cleaning solution, test it on a small, inconspicuous area to avoid damaging the fabric.
Evaluate the risk of lingering odours. If your pet has a sensitive stomach, it might be worth investigating whether dietary issues are at play. A resourceful read on this topic is why is it bad to give dogs human food, which can help you understand potential causes of digestive troubles.
Lastly, prepare yourself mentally for the task. Cleaning mishaps can be unpleasant, but staying calm and focused will make the process much more manageable.
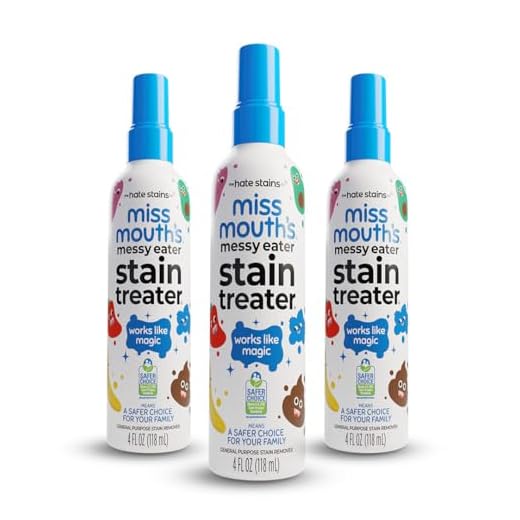
Choosing the Right Cleaning Supplies for the Task
The right supplies can make all the difference. Start with a pair of disposable gloves to protect your hands. Opt for rubber or latex gloves – they create a barrier against any lingering odours and bacteria.
Next, grab a sturdy plastic scraper or spatula. This tool helps lift any solid residue without pushing it deeper into the fabric. If you’re dealing with a delicate textile, consider using a soft-bristled brush or an old toothbrush to gently work on the stain.
A good enzymatic cleaner is a must-have. These specialised products break down organic materials, eliminating stains and smells. They’re a lifesaver when tackling stubborn marks. Make sure to read the label to confirm it’s suitable for your specific fabric type.
For a DIY approach, white vinegar and baking soda can work wonders. Mix equal parts of vinegar and water in a spray bottle, and keep baking soda on hand to sprinkle over the area after applying the vinegar solution. This combination neutralises odours effectively.
Lastly, don’t forget about absorbent cloths or paper towels. Microfiber cloths are ideal for blotting up moisture without leaving lint behind. Always have several on hand to tackle any mess promptly.
Gather these supplies before you start. Having everything at your fingertips can streamline the process and help you manage the situation with ease.
Step-by-Step Guide to Removing Solid Waste
Begin with a pair of disposable gloves to protect your hands. Using a plastic bag, gently scoop up the bulk of the waste, taking care not to smear it further into the fabric. If the item is large, fold the blanket, enclosing the mess within the bag. Securely tie the bag and dispose of it immediately.
Addressing Stains and Odours
Next, focus on the residue left behind. Pat the affected area with a clean cloth soaked in cold water. Avoid scrubbing; this might spread the stain. For stubborn marks, create a mixture of equal parts white vinegar and water. Apply this solution to the stain using a spray bottle or cloth, allowing it to sit for about 15 minutes. Blot with a fresh cloth until the stain lifts.
Final Washing and Care
Once the stain appears less visible, toss the item into the washing machine. Select a cycle suitable for the material, using a quality detergent. For an extra boost, add half a cup of baking soda to eliminate lingering odours. After the wash, check for any remaining stains before drying; heat can set any marks. If necessary, repeat the stain removal process before placing the blanket in the dryer.
| Step | Action |
|---|---|
| 1 | Wear gloves and scoop up the waste |
| 2 | Blot the area with a damp cloth |
| 3 | Apply vinegar solution, let sit, then blot |
| 4 | Wash in machine with detergent and baking soda |
| 5 | Check for stains before drying |
Treating Stains and Odours After Initial Cleaning
After the first round of removal, tackle lingering marks and smells with a targeted approach. For any discolouration, mix equal parts white vinegar and water in a spray bottle. Lightly mist the stained area without soaking it. Allow the solution to sit for around 10 minutes before blotting with a clean cloth.
Odour Neutralisation Techniques
To banish unpleasant scents, sprinkle baking soda generously over the affected area. Let it rest for several hours or overnight. This natural deodoriser absorbs odours effectively. Vacuum the area thoroughly to remove the baking soda, and repeat if necessary for stubborn smells.
Stain Removal Solutions
If stains persist, consider using an enzymatic cleaner specifically designed for organic materials. Apply the cleaner according to the manufacturer’s instructions, ensuring it penetrates the fabric. Allow it to work for the recommended time before rinsing thoroughly with water.

For added freshness, mix a few drops of essential oil, like lavender or tea tree, with water in a spray bottle. Lightly spritz the area once the fabric is dry to impart a pleasant scent.
Regularly check for any remaining stains or odours, especially in warmer months, as these can become more pronounced over time. Quick action helps maintain the fabric’s integrity and keeps your space smelling fresh.
Preventive Measures to Avoid Future Accidents
Establish a regular bathroom routine for your furry friend. Take them out at consistent times each day, especially after meals and before bedtime. This creates a predictable pattern, reducing the chance of unexpected messes indoors.
Consider dietary adjustments. Ensure your pup is on a balanced diet that suits their age and breed. A high-quality food can lead to more regular and manageable bowel movements. Keep an eye on any changes in their digestion, as this can indicate the need for a dietary change.
Training is key. Reinforce good habits by rewarding your canine companion when they relieve themselves outside. Positive reinforcement helps them associate outdoor bathroom breaks with praise and treats, encouraging them to avoid accidents indoors.
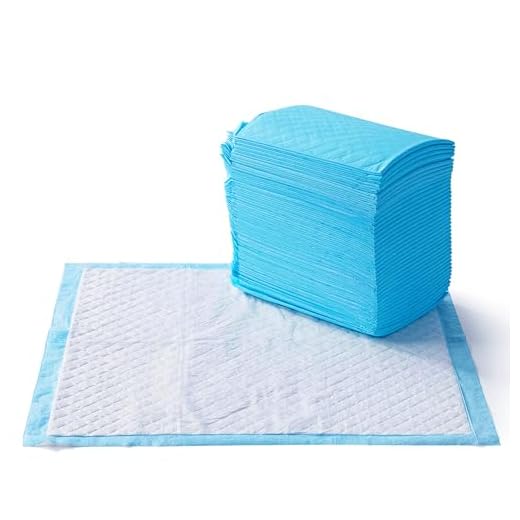
Invest in appropriate indoor solutions. If your pet is young or has health issues, consider using puppy pads or designated indoor areas. These can provide a safe space for them to go when you’re not available to take them outside.
Regular vet check-ups ensure your pet stays healthy. Routine visits can help catch any underlying health issues that might affect their bathroom habits. If you notice sudden changes, consult your vet for advice.
Keep a close watch on your pet’s behaviour. Signs of discomfort or restlessness can indicate they need to go outside. Being attentive can prevent accidents before they happen.
Finally, maintain a clean environment. Regularly wash your pet’s bedding and any areas where they spend time. This not only keeps your home fresh but also reduces the likelihood of them returning to previous accident spots.


